
Here is a tutorial that goes to explain how create your first app for iPhone using TapPublisher step by step. Before you start, we advise you to read our guide Introducing TapPublisher , an overview that help you to understand the general principles of TapPublisher .
1 - Pick a template
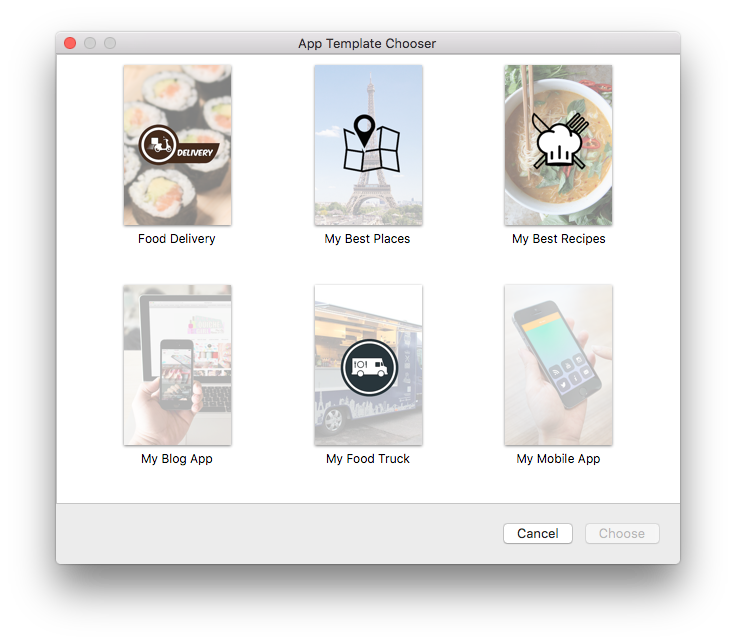
When you run TapPublisher for the first time or you create a new app, a window will open prompting you to choose a template app. An app template is a preconfigured app with a number of selected modules.
In this example, we will pick the template "My Blog App". By default, this template contains a RSS news, Twitter, Instagram, YouTube and Share & Rate modules.
2 - Select a main menu
As you can see, the first module of the app is the menu module. For obvious reasons, it is unique and can not be deleted. This module offers a choice of 5 different types of menus (TabBar, List, Buttons, SideBar standard or glossy effect). Each type has its menu parameter setting according to its specificities. In the case of the button menu, you can add a wallpaper image or a background color, modify the margin size of the menu or buttons, set a background image for each button, etc ... I will lets explore all these options.

3 - Configure a module
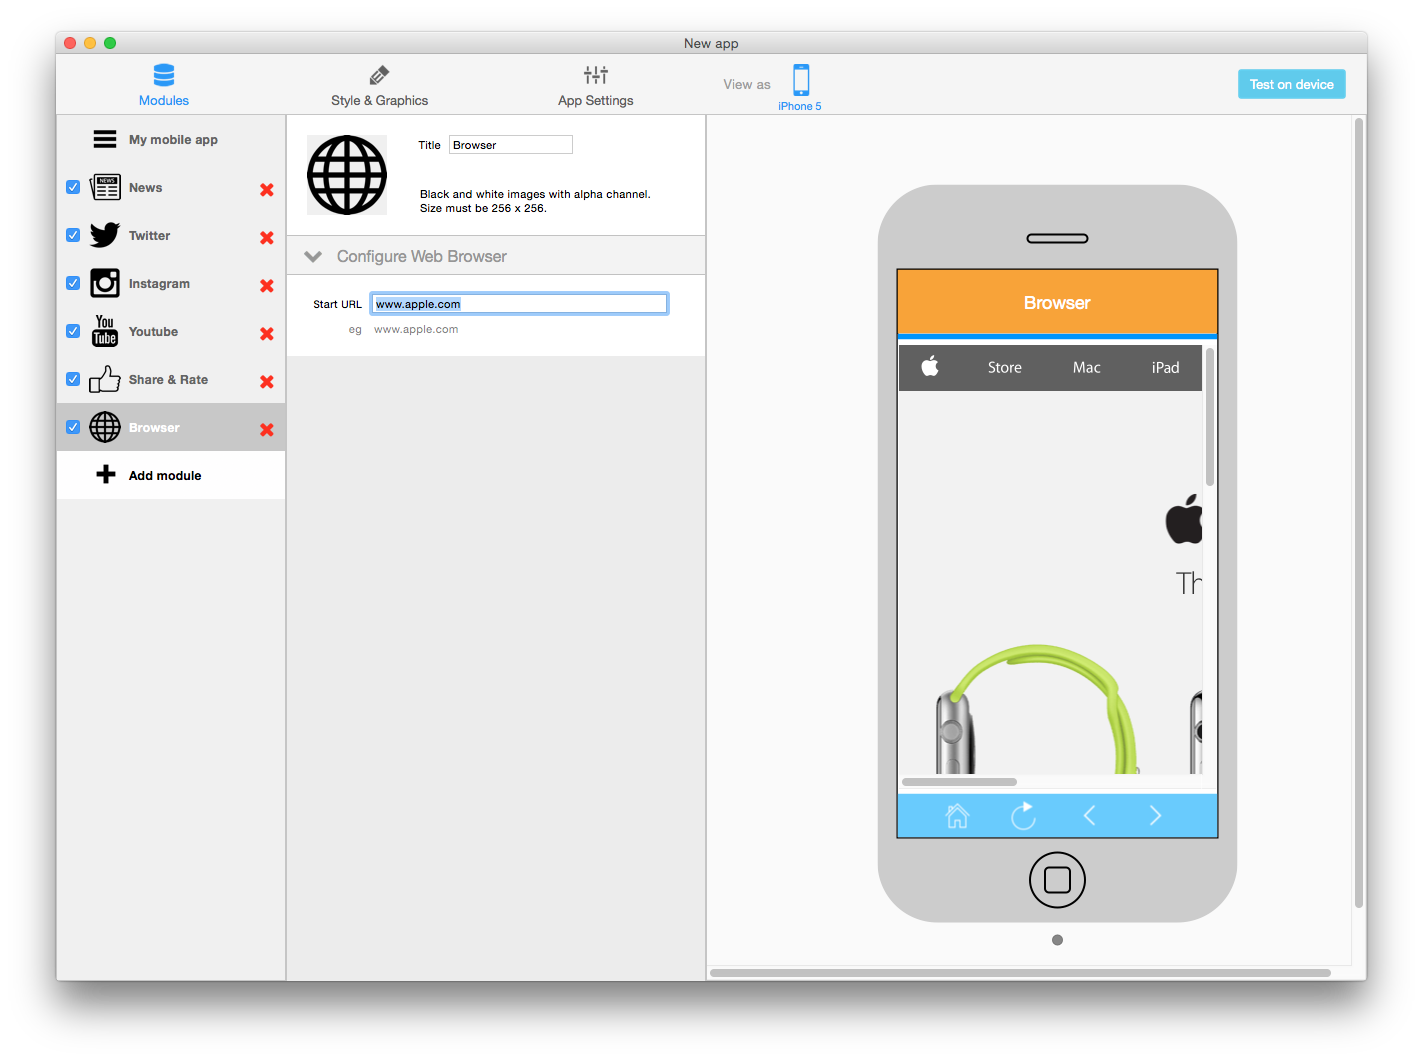
As for the menu, each module is configurable. Before turning to the specific part of each module, we will look at the first section of the setup inspector. In our example, we selected the module News RSS.
You can see an icon and a title. This icon is the icon that you will find in each menu and represents each feature. By default, TapPublisher associates a particular icon to each module but of course you can change it. To do this, simply drag and drop an image on the site of the old icon in the inspector. This new icon will automatically replace the old one. Images must be in PNG format with a size of 2356 x 256 pixels. If you are looking icons to customize your app, you should visit FlatIcon which offers numerous, paid or free.
Now to the specific part of the module. As you can see, it consists of three sections:
- The URL of your RSS feed. It was she who used to supply the information of your module
- Layout: you can choose from four types of layout that will display the information in different ways
- The header: you can choose whether to add a header (a header) to your layout.
As you can see in the preview on the right side of your window you can see in real time the changes you make to your app.

With some modules, the News module, you can see in the rendering of the iPhone, many "points". These points correspond to subpages of the module. And as for each module, this page is also configurable. In the case of the News module, it is the display page of an item and you can change the background color and header and body text of the article.

Each module is different, the setup will be different inspector. However, for each module you will find a section that allows you to enter information specific to a service such as a day, a URL, or a login and password, and a section for customizing the interface and layout.
4 - Add a new module
To add a module, simply click on the last item in the list of modules named "Add Module". You will see a window appear with a list of all modules available in TapPublisher. Select the one that interests you and click on the Add button. It will be automatically added to the list of modules already present.
You can add as many modules as you like for your app, but stay reasonable.

7 - And that's it
That is, your first app is now ready and you can test it on your iPhone thanks to TapPlayer.

0 comments
For adding comment please Sign in, or Sign up.